
After spending a lot of time using the Epson Perfection v700 restoring the mystery box I decided that I absolutely needed a flatbed scanner as part of my photographic tool-kit. So I decided to join the Epson Perfection family. By getting a V600!
The whole point of getting this scanner was to be able to take more control over my own photographic process. In the past, I’ve had access to scanners and equipment through being in university, or by working with companies such as the excellent Express Imaging to process and scan my images for me, especially medium format! Bringing in this scanner was honestly one of the best additions to my photographic arsenal.

The scanner came packaged really well with plenty of protection in transit. It also comes with scanning masks for 35mm, slides and medium format, which match up with grooves on the device to ensure consistent and reliable frame alignment throughout the scanning process.
Loading film into the scanning masks is a simple enough task, even if you’re completely new to scanning film.
The software is a little bit more complicated than your average flatbed scanner, but it’s nothing you can’t figure out for yourself after a few mins of acquainting yourself with the settings.
One of the first ever films I scanned was a roll of expired film shot on an Olympus Trip AF-61. A pretty straightforward automatic point & shoot camera.


The images from this camera came out pretty much as expected for a point & shoot of its time. Completely automated exposures and a fixed focus are great for snapshots on holiday or at parties, but lack the potential creative control of more complex camera systems.
The main reason I bought this scanner however, was for its ability to scan medium format film!


Being a flatbed scanner, it also takes care of my Polaroid and Instax scanning needs with no problem. As well as any finished darkroom prints and images for recovery and restoration, work like I did in this post!


Being in complete control over my scans has helped me immensely in my work, especially with the Nishika N8000.


With a little effort, you can scan more difficult negatives such as 110 cartridge film. In future I would recommend the use of a dedicated scanning mask, such as this one made by Lomography on Analogue Wonderland.


I’ve been using this camera for most of my film scanning and archiving needs for the past 3 years and it’s still going strong. My only complaint about it is that some day I’ll want to move up to shooting large format film but as we all know that’s a symptom of GAS (Gear Acquisition Syndrome) which is just another problem we suffer with as photographers!

50mm f1.4 Canon FD/Canon AE-1 program. Ilford HP5 plus
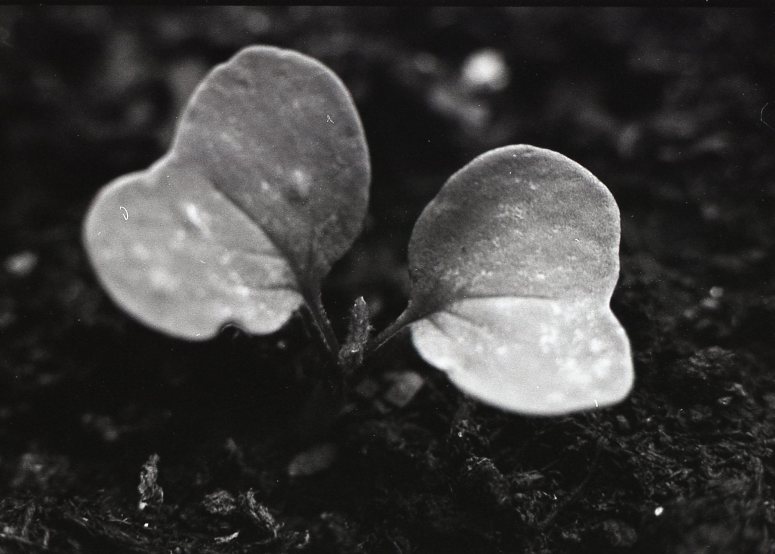
50mm f1.4 Canon FD with Macro Converter/Canon AE-1 program. Ilford HP5 plus
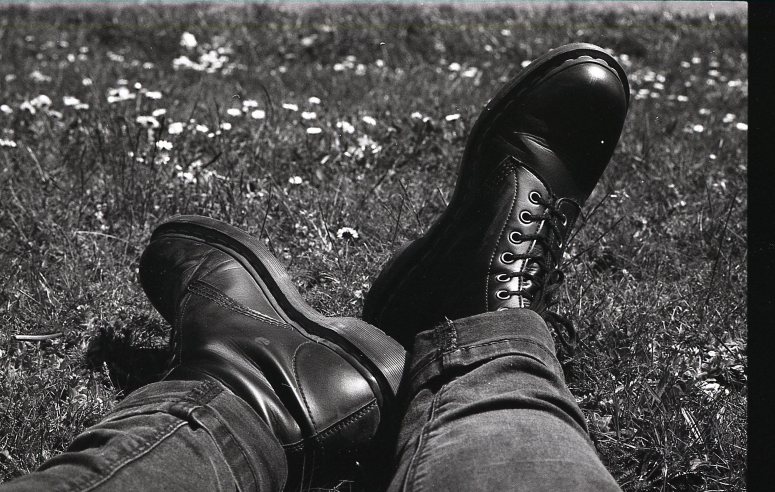
50mm f1.4 Canon FD/Canon AE-1 program. Ilford HP5 plus

50mm f1.4 Canon FD with Macro converter/Canon AE-1 program. Ilford HP5 plus
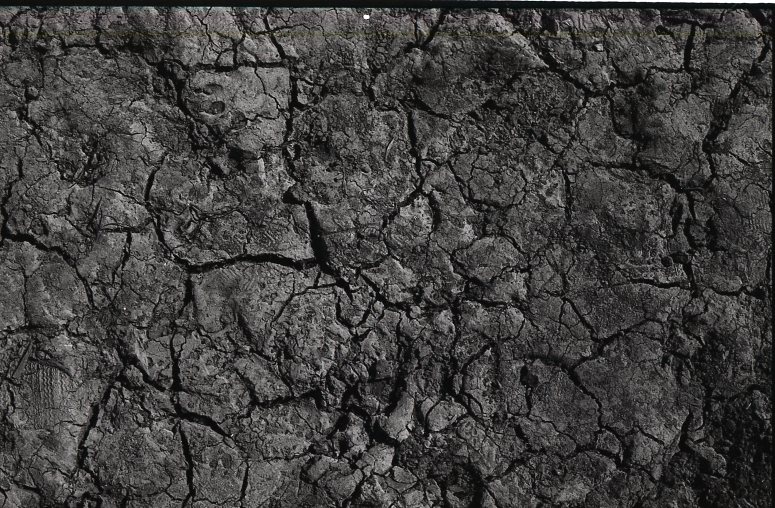
Dry earth. 50mm f1.4 Canon FD/Canon AE-1 program. Ilford HP5 plus
The final 5 Images above are some more recent examples of work I’ve made and scanned over the last few months.
As mentioned earlier in this article, it has taken me 3 years to finally publish this review having scanned hundreds of images in that time. it handles all kinds of film and prints with little to no issues!
